



Gluten-Free Pumpkin Bread
Pumpkin is the ingredient that makes gluten-free baking easier rather than harder. It carries moisture into a crumb that would otherwise go dry, and it does work that butter and buttermilk usually have to do.
Which is why this loaf has neither. It is made with oil, from scratch, in one bowl, and it is dairy-free and nut-free without substituting anything.
Built on Pamela's 1:1 All-Purpose Flour, which is bound with guar gum, so there is no xanthan gum to add. Recipe by Audrey Roberts at Mama Knows Gluten Free, adapted to our flour.
Ten minutes of mixing, fifty in the oven, and it keeps three days. So good, no one will guess it is gluten-free, the way Pamela's has done it since 1988.
What Kind of Flour Is Best for Pumpkin Bread
A quick bread is forgiving, which makes it a good place to use a one-to-one blend rather than a specialty mix.
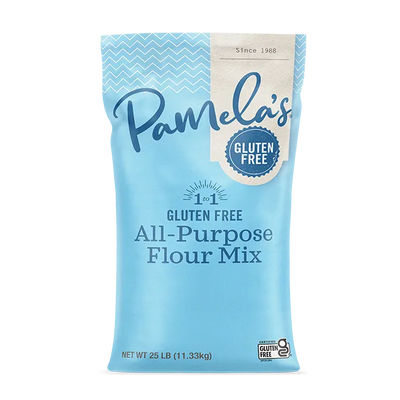
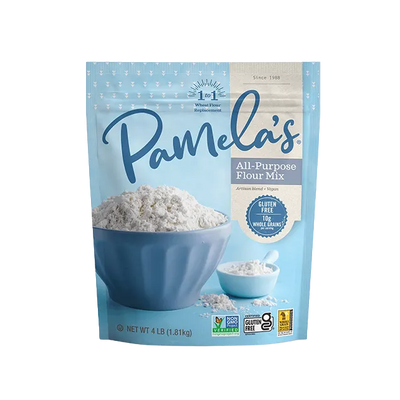
Pamela's 1:1 All-Purpose Flour is rice-based and bound with guar gum, already in the blend. Most gluten-free recipes call for xanthan gum separately. You do not need it here, and adding it on top of the guar would make the crumb gummy.
The flour this is built on Pamela's Gluten-Free 1:1 All-Purpose Flour Rice-based, finely milled, nut-free, and bound with guar gum rather than xanthan. Substitutes one for one for wheat flour. GFCO-certified.
A single-ingredient flour will not work in its place. Almond and coconut flours behave completely differently and need a recipe written for them.
We have two other pumpkin breads, both built on a mix rather than flour. Our pumpkin bread with crumble nut topping uses the Pancake & Baking Mix, and our pumpkin quick bread uses the Bread Mix. This is the from-scratch one, and the only one that is dairy-free and nut-free.
Measuring the Flour Matters More Than Anything Else
Too much flour is the single most common reason a gluten-free loaf comes out dense or dry.
Use a dry measuring cup and the spoon and level method. Spoon the flour into the cup, then level it with the back of a knife. Do not scoop the cup straight through the bag, which packs the flour down and leaves you with far more than the recipe calls for.
A kitchen scale is better. Gluten-free blends vary a great deal in density, so a cup of one can weigh noticeably more than a cup of another, and that difference lands directly in the crumb.
If you are adapting a recipe written for a different blend, go by weight rather than by cup. That one habit prevents most gluten-free baking disappointments.
How to Keep It From Sinking
Four things, and the first two are the usual culprits.
Check your flour measurement. A sunken middle is more often too much flour than too little heat.
Mix gently. Overmixing knocks the air out of a chemically leavened batter and leaves a heavy loaf.
Check your leaveners. Baking soda and baking powder lose strength over time, and an old tin will not lift a batter this wet.
Give it longer. Sometimes the loaf simply needs another 5 to 10 minutes. If the top browns before the center is set, lay foil loosely over it for the rest of the bake.
Fill the pan two thirds to three quarters full, no more, and make sure the oven is fully preheated before the batter goes in. Both help the loaf dome rather than spread.


